Most of you already know that Mark, Maya, and I enjoy boondocking, also called wild or dry camping. This means we don’t utilize hook-ups (connection to electricity, water, and sewer), which are standard utilities at RV parks and most campgrounds. Not only is boondocking free (or affordable in official camping areas), but it provides us with privacy, space, and peace. We just love to spend our nights in solitude, surrounded by Mother Nature – a quiet environment, starry skies, the distant howl of coyotes.
Our RV has three tanks: fresh water for drinking, showering, dishes, and cooking; a “grey” tank to collect water going down the drains, and a “black” reservoir to collect contents from the toilet. We usually fill the fresh water tank and dump the others at dump stations. In Mexico, we buy our water at the “agua purificado” store. So, these essentials consist of the process “fill, use, dump, repeat.” But how about that other commodity called electricity? How do we collect and retain enough “juice” for our computer, lights, and few appliances? How do we manage to keep our devices charged when sitting still?
Ever since we owned our 35ft sailing catamaran Irie from 2007 to 2015, we have been fans of solar power. It allows us to be self-contained, free, and camp/anchor off the beaten path. If you are curious how that materializes in our current truck camper, Temp, please read on…
Mark and I recently installed an additional solar panel on the roof of our camper to augment the existing 160W panel that came with our “new” set-up. Last year, Mark built a 270Ah LifePO4 12V (Lithium) battery for Temp and we have been using that successfully for the past months. Our camper came with a Zamp Solar 160W roof-mounted solar panel and a Zamp Solar 30A PWM charge controller when we bought it last June. The charge controller does not work well with LifePO4 batteries, so changing that out was also on our to-do list to get the camper’s electrical system better prepared for full-time living.
We installed an additional 180W fixed solar panel from BougeRV (link here) to our existing roof rack. This avoided drilling new holes into the roof for the panel itself. We used the Z-bracket mounting hardware that BougeRV sells specifically for their panels, (see link here) which attached directly to the new 180W panel and then provided a horizontal surface to mount it on our roof rack. We also utilized their pass-thru gland for the new wiring into the camper from the roof (click link here), and received 30ft of 10AWG wire (see that link here).
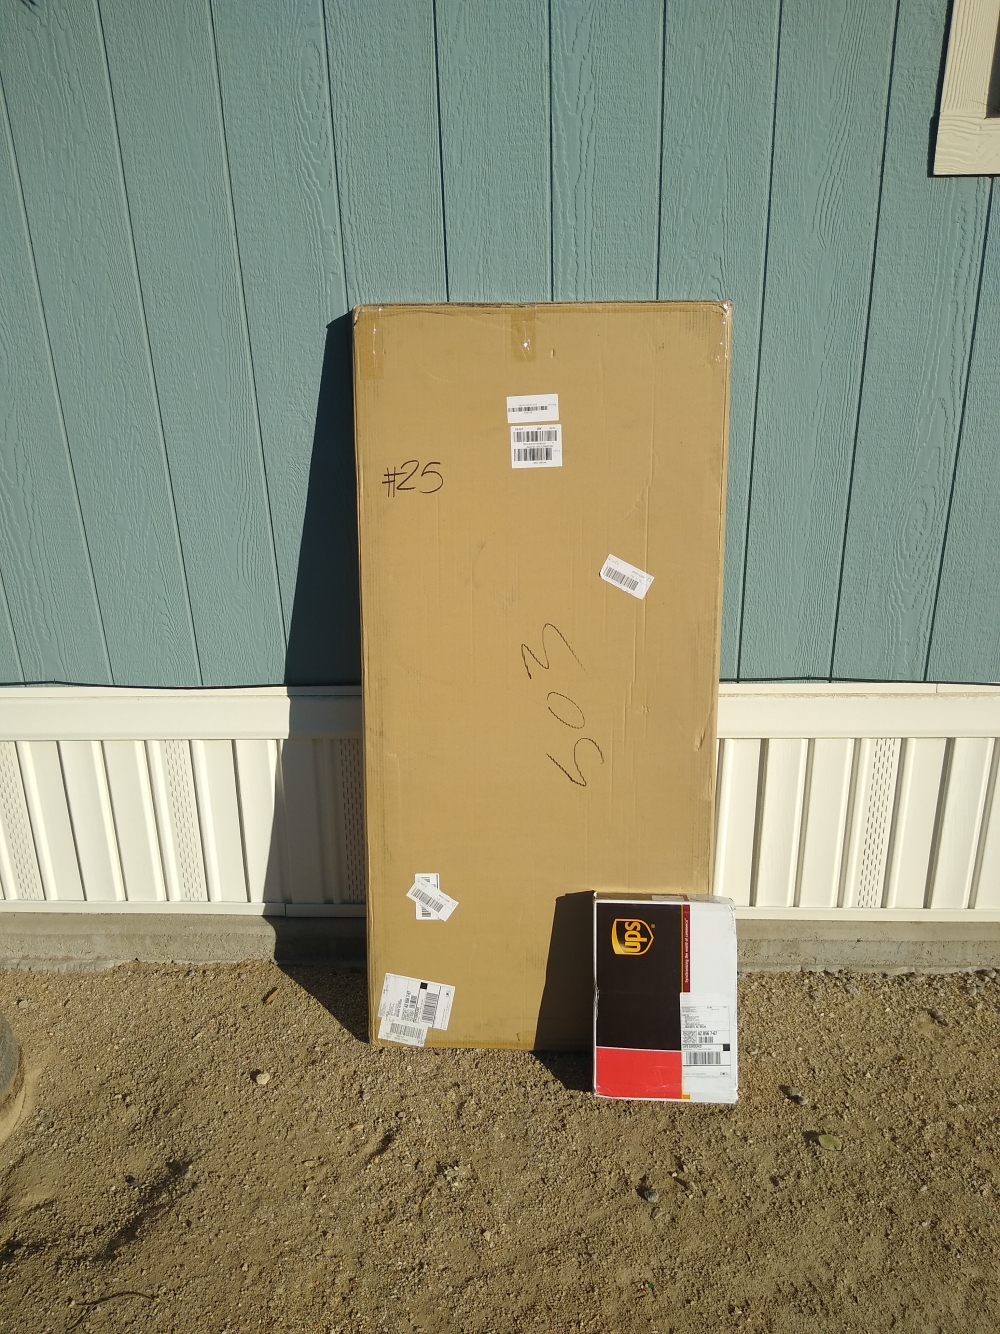
Panel and accessories arrive
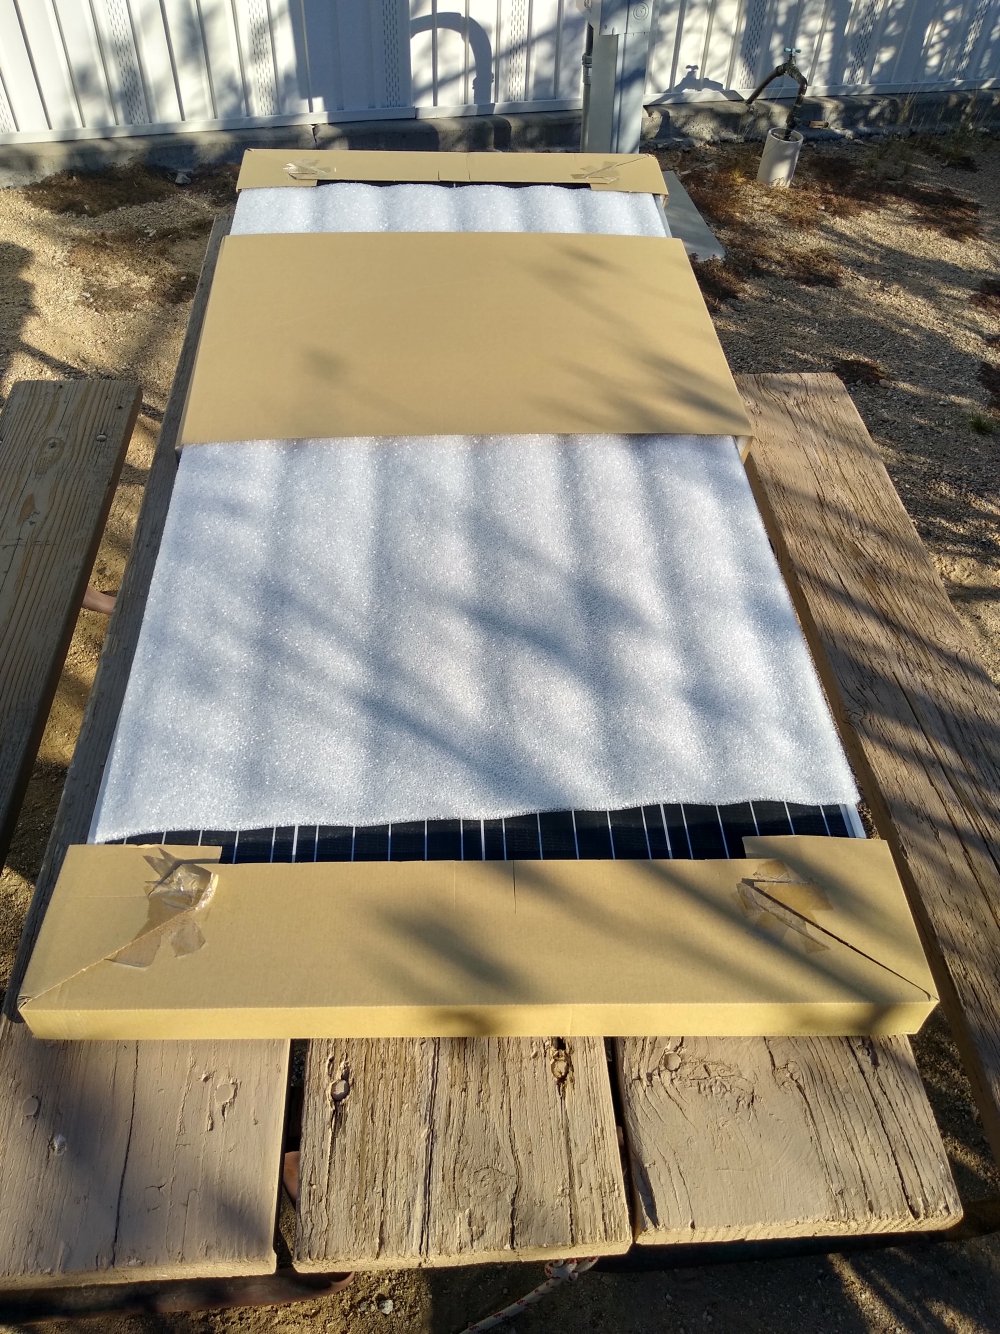
Unpacking the panel
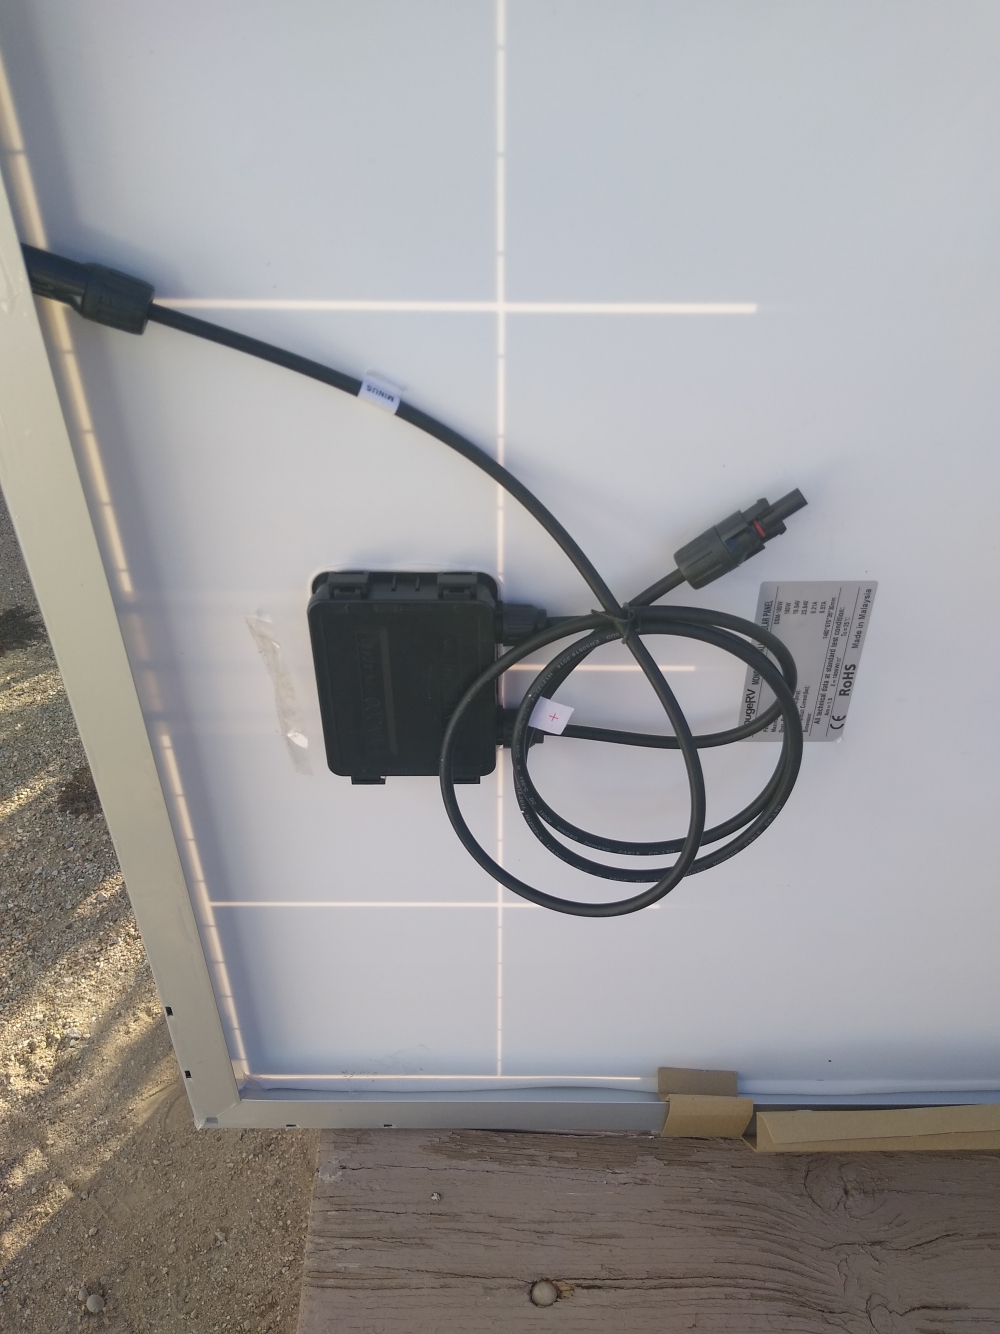
Junction box
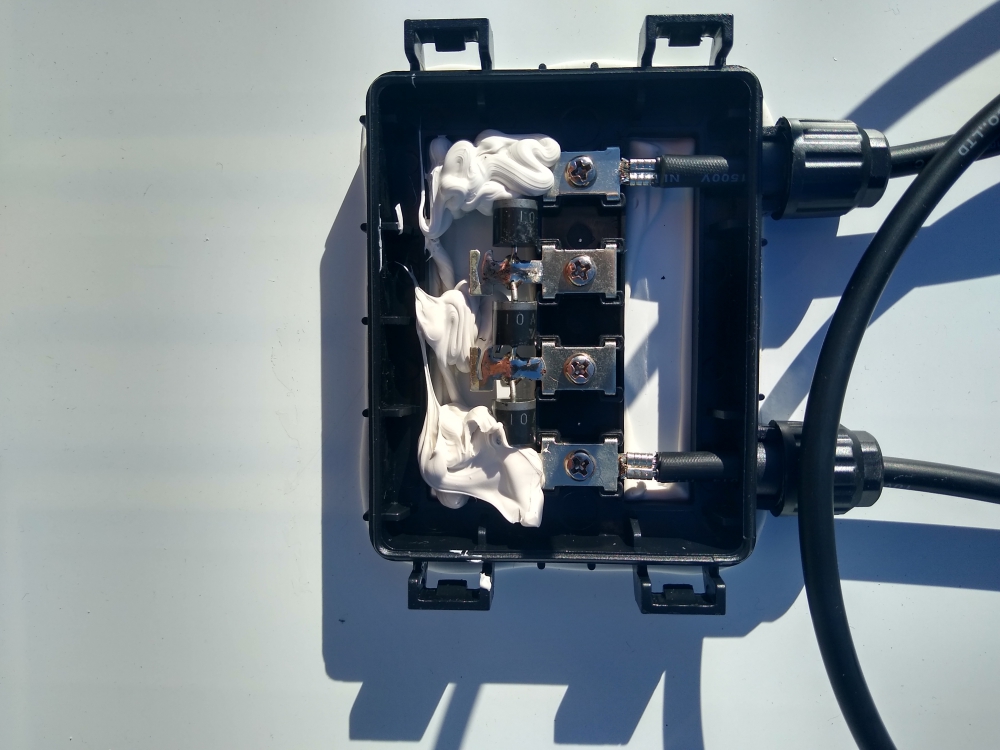
Inside junction box
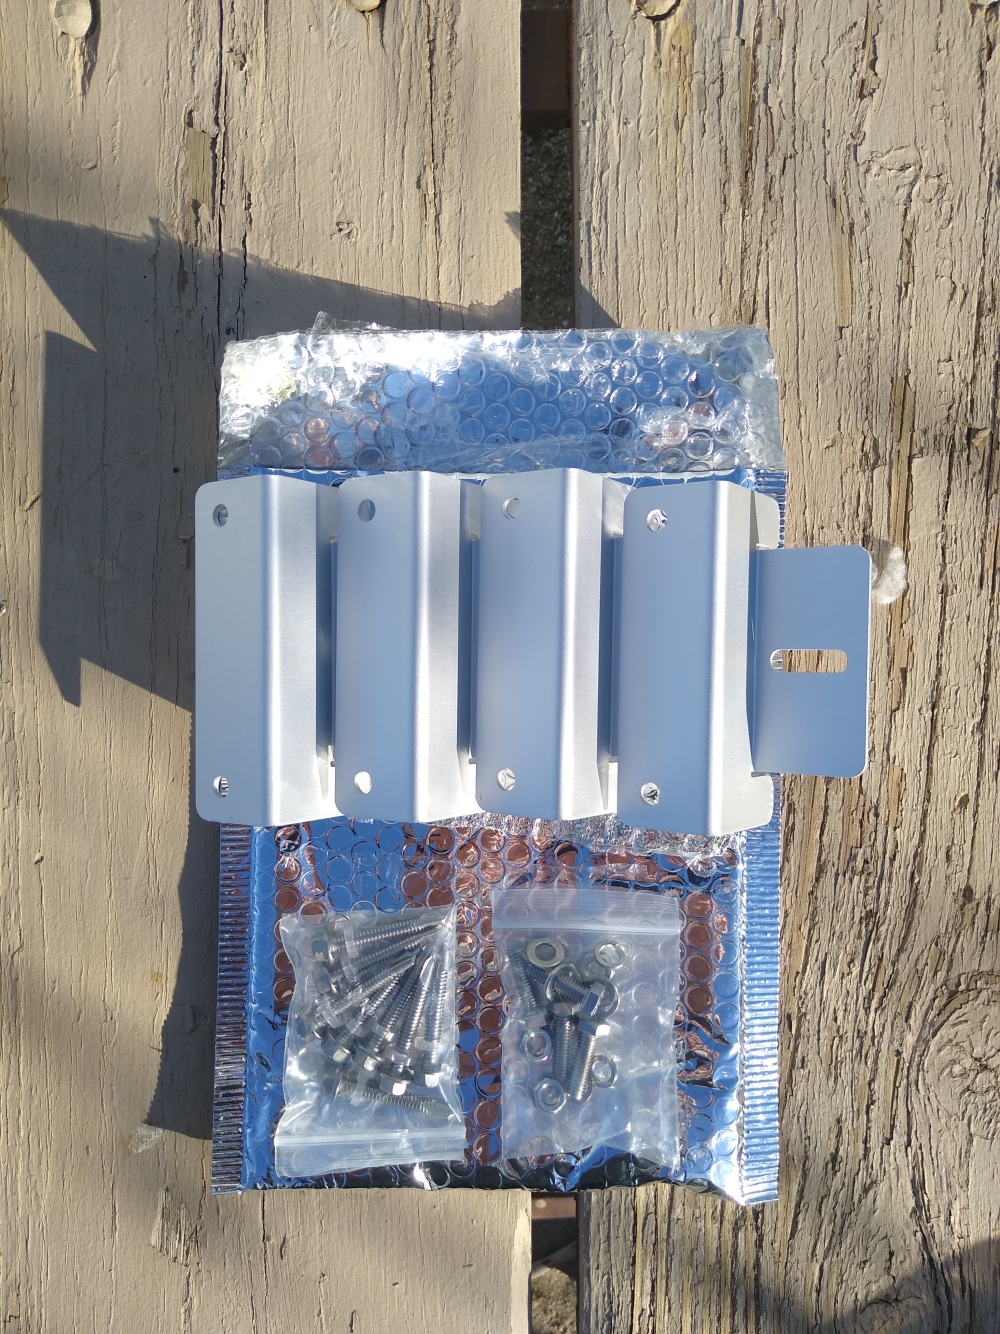
Z-Brackets
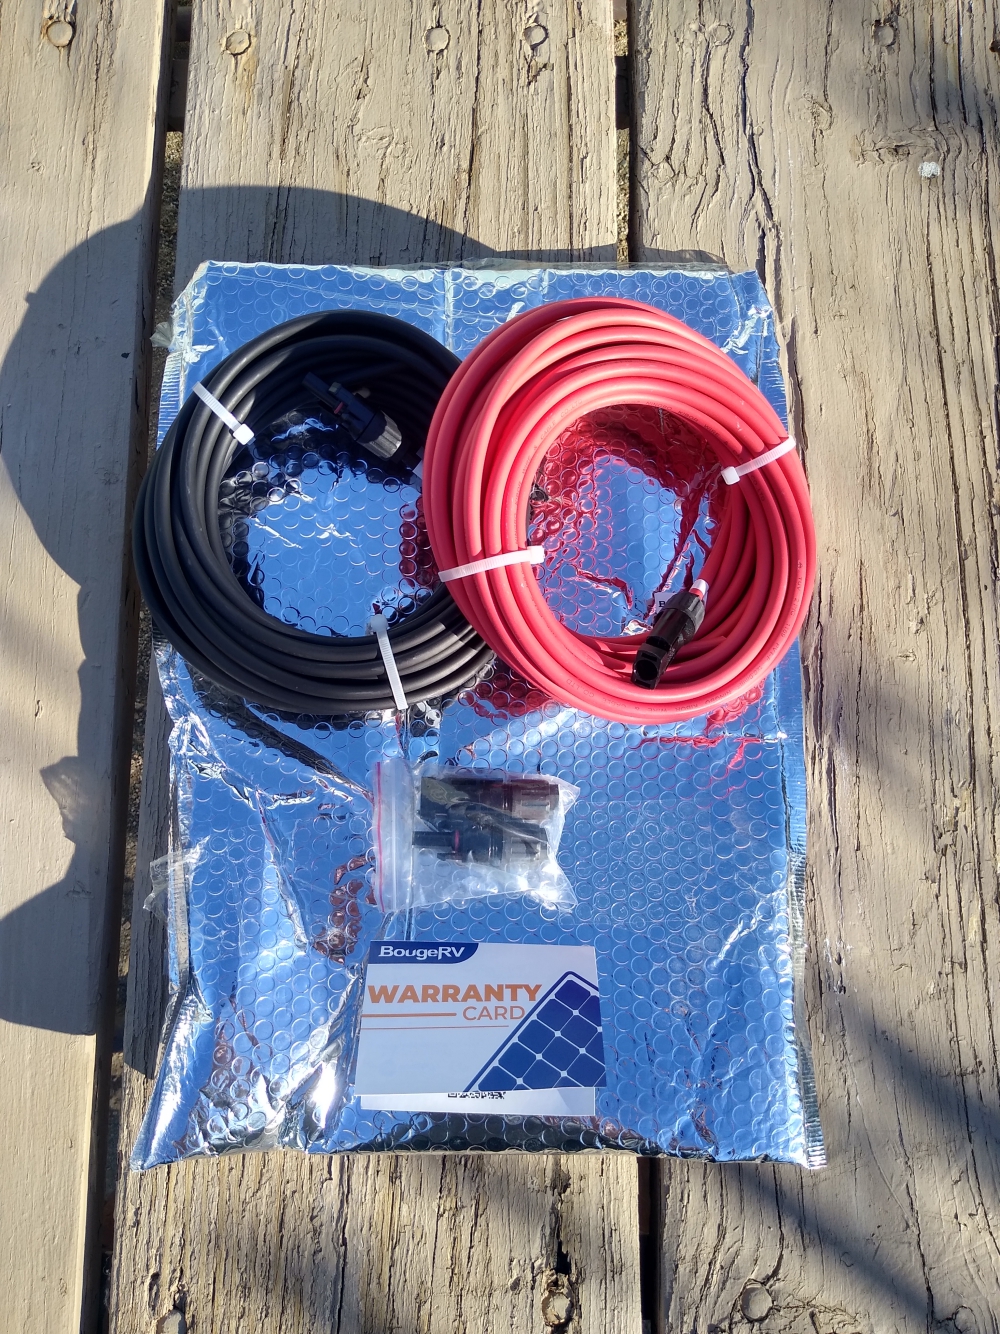
30ft of 10AWG cable
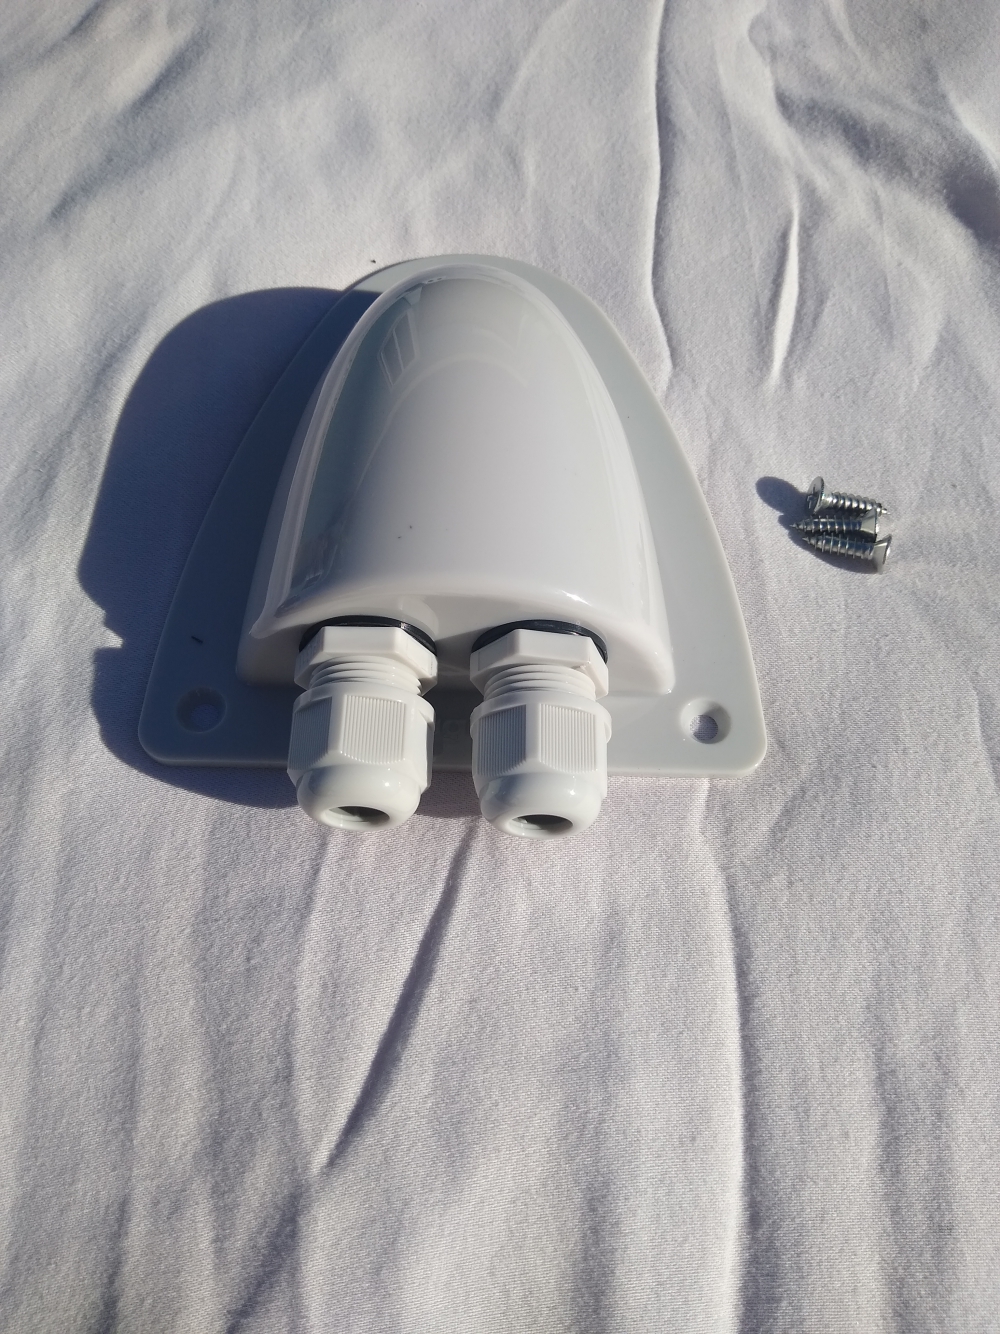
Gland for camper roof